

Content
Introduction
In this article, I assume only a little development experience, and we are going through it step by step. Furthermore, I will update it regularly. I also curate a list of useful Gatsby links at the end of the article.
Firstly, let me explain to you what my use case is. I was motivated to try Gatsby because we might set up a shared blog for devBetter (multiple authors). devBetter is a developer coaching group I am a participant in led by Steve Smith (Ardalis).
But why should we choose Gatsby and not, let us say WordPress (like this blog you currently read)? We are all software developers in this group. It makes sense to have something based on already known tools like creating content with Markdown or collaborating via Git. And that is precisely where Gatsby comes into play. It makes use of technologies developers are familiar with!
Gatsby is a static site generator.
Why A Static Site Generator?
We have server-side rendered (SSR) pages and single-page applications (SPA). Server-side rendered pages are very search engine friendly.
When you develop a single page application (SPA), you essentially have just one single page and everything loads into that page via JavaScript. It means search engines mostly do not have access to it, and I wonder how long that will be the case.
However, when you build a site with a tool like Gatsby, a static site generator (SSG), you can make everything on your PC and then deploy it. The web server will serve static web pages with some JavaScript injected. But the whole build process guarantees that it is statically rendered for the search engine (pre-rendered).
Especially when starting a blog, you want to optimize for search engines to reach an audience looking for content in your Blog on Google.
Gatsby 101: Creating a Test Site On Windows
This section is for people with some experience with web development but not yet familiar with NodeJS. NodeJS is fundamental because Gatsby runs on top of it.
There are multiple options to work with Gatsby on Windows. You can install the Windows Linux Subsystem (WSL) and work from there. Or open up a PowerShell in administrator mode, and I choose the latter.
If you do not have NodeJS installed yet, you can download and install it here: NodeJS.
Part One: Install The Gatsby Command Line Interface (CLI) and Set Up a Test Project
- Open the Windows PowerShell as Administrator.
- Install build tools that might be needed later on to work with Gatsby:
npm install --global windows-build-tools --vs2015 - You might want to check what you already have installed:
npm -g ls --depth=0
In my case, this does now show this list, since I already installed it when writing this little tutorial:
+-- @vue/cli@4.5.12
+-- gatsby-cli@4.1.0
+-- npm@7.15.0
+-- vue@2.6.12
`-- windows-build-tools@5.2.2 - Install the Gatsby Command Line Interface (CLI):
npm install -g gatsby-cli - Go to a fresh directory, e.g.:
C:\GatsbyProjects\ - Use this command to set up a basic project:
npm init gatsby - Follow the CLI and choose from the suggested options.
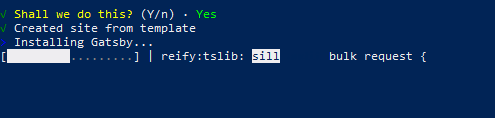
This will produce an output similar to this:
- After you confirmed the questions, Gatsby will create the site for you:
Part Two: Run The Site And Start Making Changes
After project creation, we can go into the created directory and start the server:
- Make sure you are in the right directory. When a subdirectory has been created, go into that respective subdirectory:
cd test2 - The following command will start the server. It will be the final command before you can start to actually playing with Gatsby:
npm run develop
The site should now start.
We have chosen the Netlify CMS template:
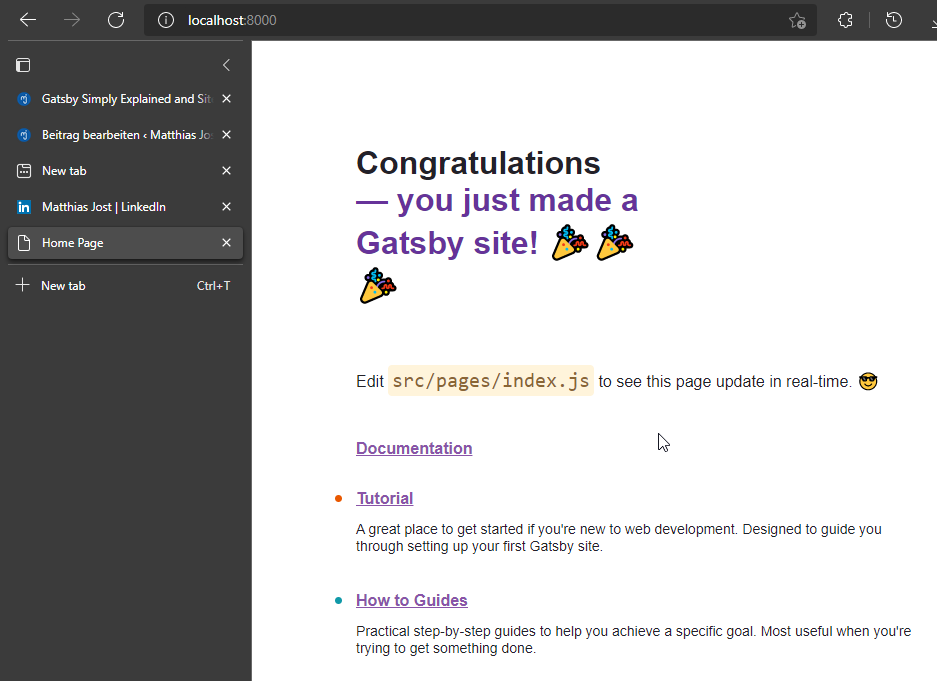
- Open the site in your browser:
http://localhost:8000/ - Your browser will now show your first Gatsby site!
- Now open the site in Visual Studio Code and introduce some changes to index.js to check if the live update works:

- After you made some changes to the index.js, the Gatsby CLI will automatically update the site. For testing purposes introduce some changes to the text and see if it works.
Congratulations! You made a Gatsby site based on the Netlify CMS!
Conclusion
We have been looking at how to get a basic setup up and running. Would you mind letting me know if you encounter anything that might be missing? Preferably write me a message on LinkedIn.
We just saw the tip of the iceberg. You may want to read Ilyana’s article to continue: Creating a Gatsby Blog with Netlify.
Links
- devBetter Coaching Group
- Creating a Gatsby Blog with Netlify
- Gatsby Tutorial #1 – What is a Static Site Generator?
- Commands (Gatsby CLI)
Enthusiastic About Software Development
.NET/C#, ASP.NET, SQL, JavaScript and Vue.js